


Hey there! I'm a supplier of Rigid PETG Sheet for Vacuum forming, and today I want to share some tips on how to optimize the vacuum forming process for rigid PETG sheets. Vacuum forming is a popular manufacturing method used to create a wide variety of products, from packaging to automotive parts. Rigid PETG sheets are a great choice for this process because they're strong, transparent, and easy to work with. But like any manufacturing process, there are some tricks to getting the best results.
Understanding Rigid PETG Sheets
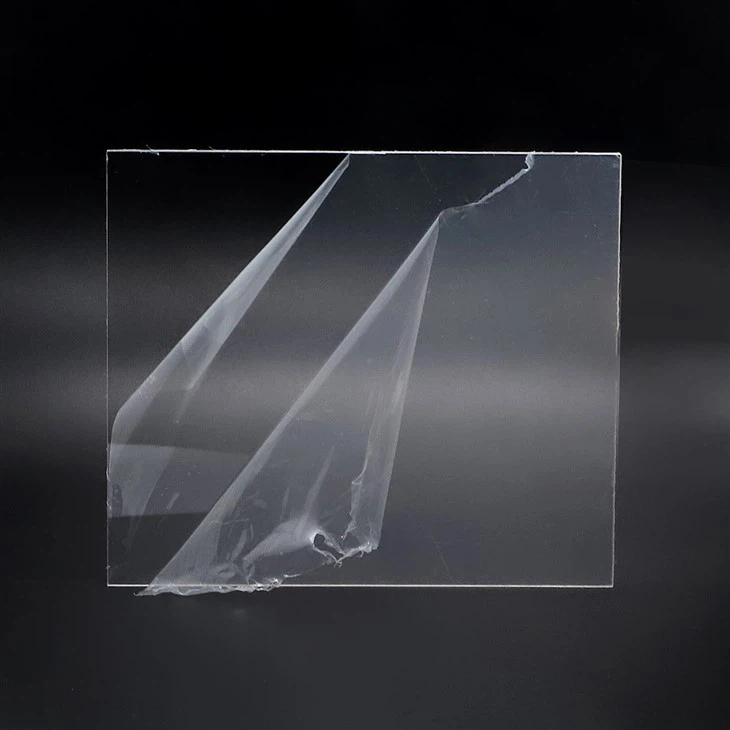
First things first, let's talk a bit about what rigid PETG sheets are. PETG, or polyethylene terephthalate glycol-modified, is a thermoplastic polyester that's known for its excellent clarity, impact resistance, and chemical resistance. It's also easy to thermoform, which makes it a top pick for vacuum forming applications.
Our Transparent Rigid PETG Sheet PE Films are specifically designed for vacuum forming. They come in various thicknesses and sizes, so you can choose the one that best suits your project. Whether you're making small, intricate parts or large, simple shapes, there's a PETG sheet that's right for you.
Preparing the Rigid PETG Sheets
The first step in optimizing the vacuum forming process is to properly prepare the PETG sheets. This starts with storage. You want to keep your sheets in a cool, dry place to prevent any warping or damage. Make sure they're stored flat and protected from dust and debris.
Before you start the vacuum forming process, it's a good idea to clean the sheets. You can use a mild detergent and a soft cloth to gently wipe the surface. This will remove any dirt, fingerprints, or other contaminants that could affect the quality of the final product.
Heating the Rigid PETG Sheets
Heating is a crucial step in the vacuum forming process. You need to heat the PETG sheets to the right temperature so that they become soft and pliable enough to form into the desired shape. The ideal heating temperature for rigid PETG sheets is typically between 160°C and 180°C (320°F and 356°F).
It's important to heat the sheets evenly. Uneven heating can cause the sheet to stretch more in some areas than others, leading to a distorted final product. You can use a variety of heating methods, such as infrared heaters or convection ovens. Make sure to follow the manufacturer's instructions for your specific heating equipment.
Setting Up the Vacuum Forming Machine
Once the sheets are heated, it's time to set up the vacuum forming machine. First, place the heated sheet over the mold. Make sure it's centered and aligned properly. Then, lower the clamping frame to hold the sheet in place.
Next, turn on the vacuum pump. The vacuum will suck the air out from between the sheet and the mold, causing the sheet to conform to the shape of the mold. The amount of vacuum pressure you need will depend on the size and complexity of the mold. Generally, you'll want to use enough pressure to ensure a tight fit, but not so much that it causes the sheet to tear.
Cooling the Formed Product
After the sheet has been formed to the shape of the mold, it needs to cool down. Cooling is an important step because it helps the sheet retain its shape. You can use a variety of cooling methods, such as air cooling or water cooling.
Air cooling is the simplest method. You can just let the formed product sit in the open air until it cools down. However, this method can be slow, especially for larger products. Water cooling is faster, but you need to be careful not to cool the product too quickly, as this can cause cracking or warping.
Trimming and Finishing
Once the formed product has cooled down, it's time to trim and finish it. You can use a sharp knife or a trimming machine to cut off any excess material around the edges. Make sure to trim the edges smoothly and evenly for a professional-looking finish.
If you need to, you can also perform additional finishing steps, such as sanding, polishing, or printing. Our Rigid PETG Plastic Sheet for Printing is great for projects that require printing. You can use a variety of printing methods, such as screen printing or digital printing, to add logos, text, or other designs to the product.
Troubleshooting Common Issues
Even if you follow all the steps correctly, you might still encounter some issues during the vacuum forming process. Here are some common problems and how to solve them:

- Bubbles or Blisters: Bubbles or blisters can form on the surface of the formed product if there's air trapped between the sheet and the mold. To fix this, make sure the sheet is properly heated and that the vacuum is strong enough to remove all the air.
- Wrinkles: Wrinkles can occur if the sheet is not heated evenly or if it's not clamped tightly enough. Make sure to heat the sheet evenly and adjust the clamping pressure as needed.
- Cracking or Tearing: Cracking or tearing can happen if the sheet is overheated or if too much vacuum pressure is applied. Make sure to heat the sheet to the correct temperature and use the appropriate amount of vacuum pressure.
Quality Control
Quality control is an important part of the vacuum forming process. You should inspect each formed product carefully to make sure it meets your quality standards. Check for any defects, such as bubbles, wrinkles, or cracks. If you find any issues, you can try to fix them or scrap the product and start over.
Conclusion
Optimizing the vacuum forming process for rigid PETG sheets takes a bit of practice and patience, but it's definitely worth it. By following these tips, you can create high-quality products that meet your customers' needs.
If you're interested in purchasing our Rigid PETG Sheet for Vacuum forming, we'd love to hear from you. We offer a wide range of products and excellent customer service. Whether you're a small business or a large manufacturer, we can provide you with the right materials for your project. Contact us today to start a conversation about your vacuum forming needs.
References
- Modern Plastics Encyclopedia.
- Thermoforming Handbook.